
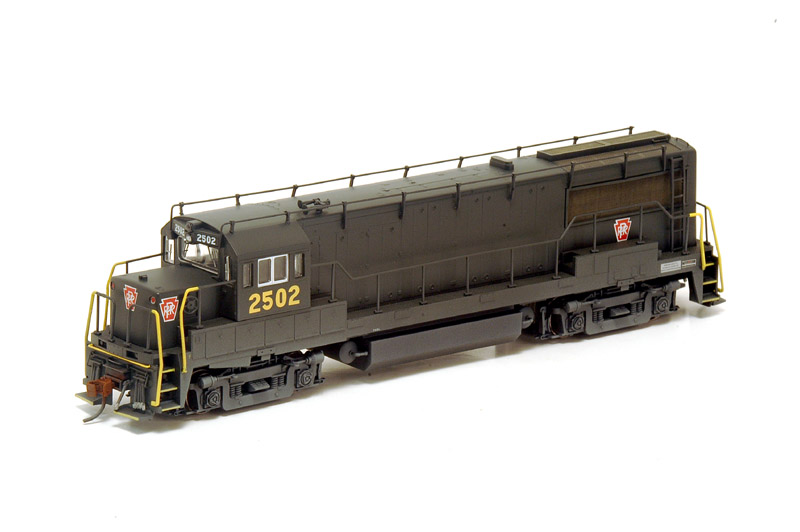
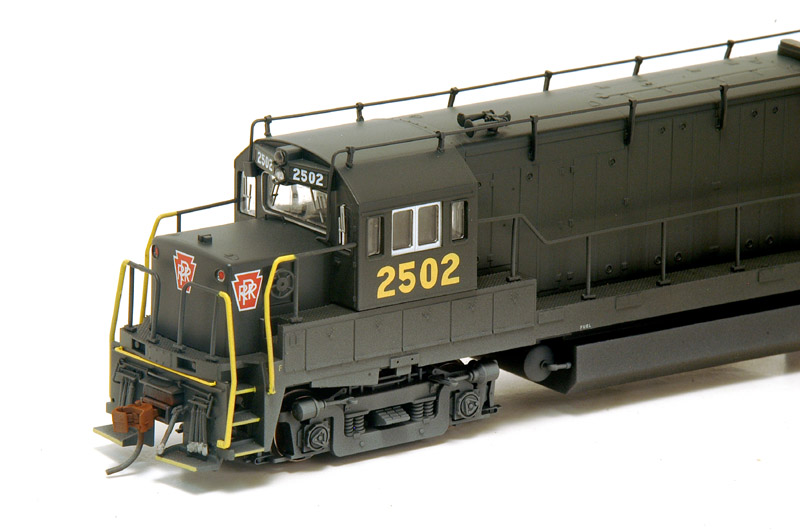
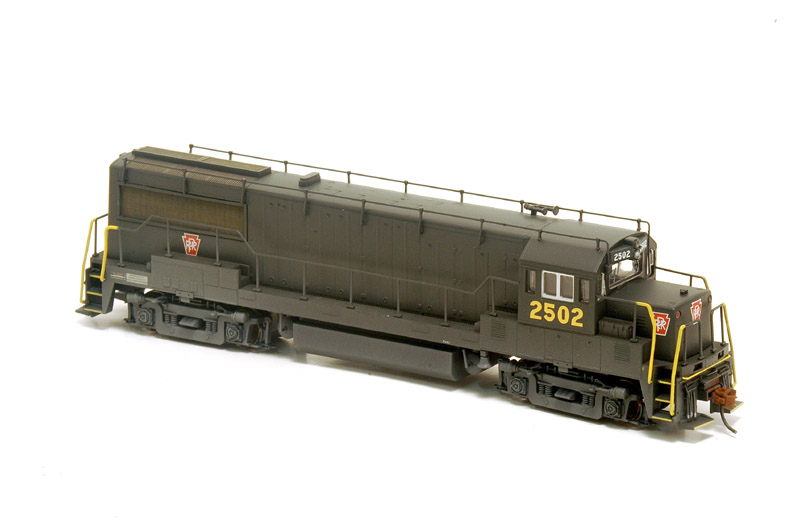
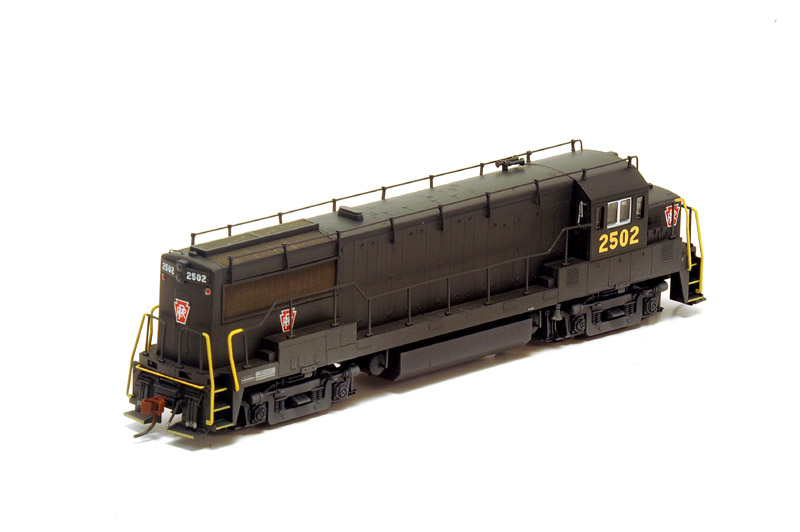
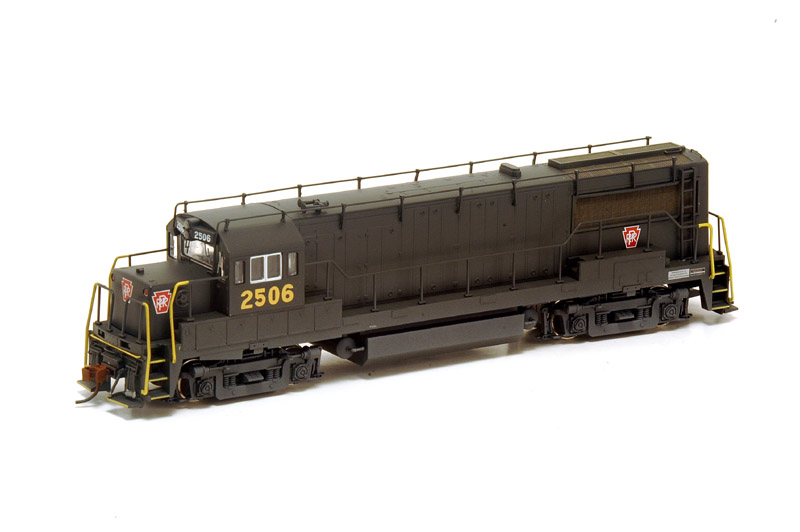
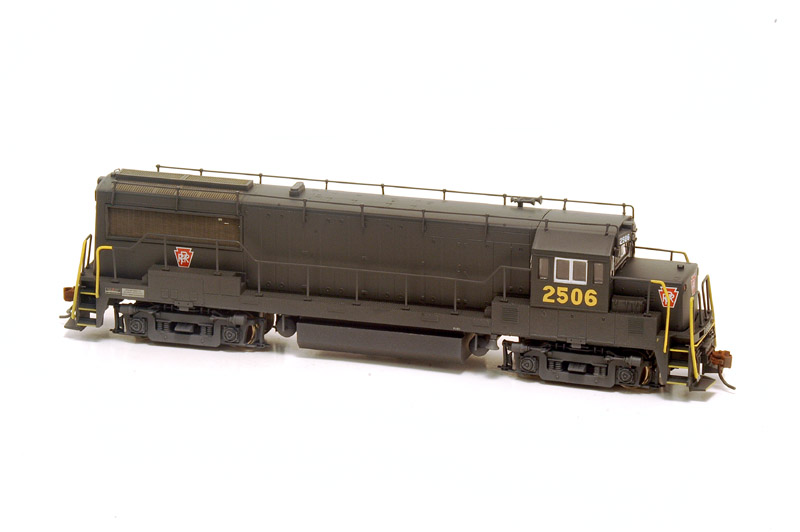
Bowser U25B Pennsy #2502 and 2506
This page was last
updated on Wednesday, July 21, 2010 11:44:39 AM

Tsunami Sound Installation Instructions for Stewart U25B.
List of Materials (purchased with confidence from Ulrich Models)
- Tsunami AT1000 Board with GE FDL-16 sound (1)
- QSI Mini oval speaker (1)
- QSI Mini oval speaker enclosure (1)
- 470ohm resistors (2)
Instructions
1. Carefully remove entire shell.
2. Once shell is removed, remove old board. Keep the tape for use on new board. Keep the LED's as we will use them on the Tsunami board.
3. Remove front and rear LED holders
4. Cut front tab holding down old board and file smooth.
5. Insert new Tsunami board into tabs over motor and solder all truck wires and motor wires onto correct tabs.
6. Solder 470ohm resistors onto common tabs of board.
7. Tape down board to motor.
8. Solder 470ohm resistors onto common tabs of board.
9. Solder old LED's onto lighting tabs. Re-bend LED leads to fit as shown in photo below.
10. Fold capacitor wires in half then tape together and sit capacitor on board.
11. Drill a hole into the side of the mini oval speaker enclosure. Solder two small wires onto speaker then fish wires through hole and snap speaker into enclosure.
12. Build speaker platform from styrene as shown in photo below. Glue styrene to metal.
13. Put a small piece of double sided tape onto bottom of speaker enclosure and put in spot milled out. Solder speaker wires to speaker tabs on board.
14. Put piece of correct size shrink wrap over front LED log enough to go to front headlight.
15. Program to road number and test all lighting.
16. Insert cap on frame and re-install couplers.
Finis!
